


In this article, we use so-called affiliate links. With every purchase through these links, we receive a commission from the merchant. All relevant referral links are marked with . Learn more.
Put an end to seat discomfort: The right saddle is crucial for comfort and efficiency. Find out here how to measure your sit bone distance, find the ideal shape and adjust your setup perfectly - for pain-free tours on road and gravel bikes.
The saddle is one of the central points of contact between you and your bike. However, it is also the most common cause of physical discomfort when riding. Pain, numbness, unpleasant pressure points and chafing are often not the result of a generally "bad" model, but simply of an unsuitable width or shape. Making the right choice here not only noticeably increases comfort and riding enjoyment on long tours, but also efficiency.
The basis: why width is crucial
When cycling, the aim is for the so-called sit bones to bear the majority of your body weight. This is the only way to relieve the sensitive soft tissue in the perineum and genital area.
- Is the saddle too narrowThe sit bones cannot find support and sink sideways. The pressure shifts to the nerves and blood vessels, which leads to pain.
- Is the saddle too wideFriction points are created on the inside of the thighs, or you slide forwards unintentionally while pedalling.
Step by step to the right size
The search for the right model begins with determining your individual sit bone distance.

- Professional surveying: Many specialist retailers offer measuring systems where you sit on a special pressure pad. The impressions visualise the exact distance between your bones.
- The DIY method: The distance can also be roughly determined at home - using corrugated cardboard, for example. Place the cardboard on a hard, flat surface, sit on it briefly with pressure and then measure the distance between the centres of the deepest indentations.
Depending on your riding style, add a few millimetres or centimetres to the distance determined to find the actual saddle width. While a rather narrow saddle makes sense for a very sporty, stretched position, a slightly wider saddle can increase comfort for a more upright position on the gravel bike.
The importance of saddle shape and pelvic position
Not every bum is the same, and not every sitting position places the same demands on the shape.
- The sporty inclination (V-shape): If you are very flexible and tilt your pelvis far forwards when riding, the pubic bone is the main point of strain. Slightly V-shaped saddles are suitable here, as they offer more contact surface at the front. A slightly raised rear can help to distribute the weight better. This mainly applies to very sporty areas of use.
- The more upright positions (Y-shape): If your pelvis is more upright, the sit bones are put under more strain. This mainly affects gravel and endurance bikers and road cyclists who go on longer tours with comfortable road bike geometry. A Y-shaped saddle offers a wider surface in this area and also provides more legroom.
- Aero positions: For extremely stretched postures (such as in time trials), saddles are often wider at the nose and shorter overall in order to distribute the pressure on the pubic bone over a wider area.
Topography: Flat or curved?
- The "camber" - i.e. how much the saddle slopes to the sides - also plays a role.
- Flat saddlesThese are ideal if you frequently suffer from numbness, as they effectively shift the weight outwards onto the bones.
- Curved saddlesThey distribute the pressure more evenly over the entire seating area and are recommended if you are sensitive to punctual pressure on the bones.
Relief through cut-outs
A hole in the centre of the saddle is used for targeted pressure reduction in the perineal area. Whether such a "cut-out" is necessary depends on your anatomy and sensitivity to pain.
- Men: A slight depression is often sufficient to relieve the perineal area.
- Women: Saddles with complete cut-outs or soft foam inserts tend to work better to minimise pressure in the genital area.
Upholstery: why less is often more
A common misconception is that a softer saddle automatically offers more comfort.
- The problem with too much paddingThe sit bones sink in too deeply, which increases the pressure on the surrounding soft tissue. In the city, where you usually cover short distances, this is perceived as comfortable. On long sporty rides, however, soft saddles are counterproductive.
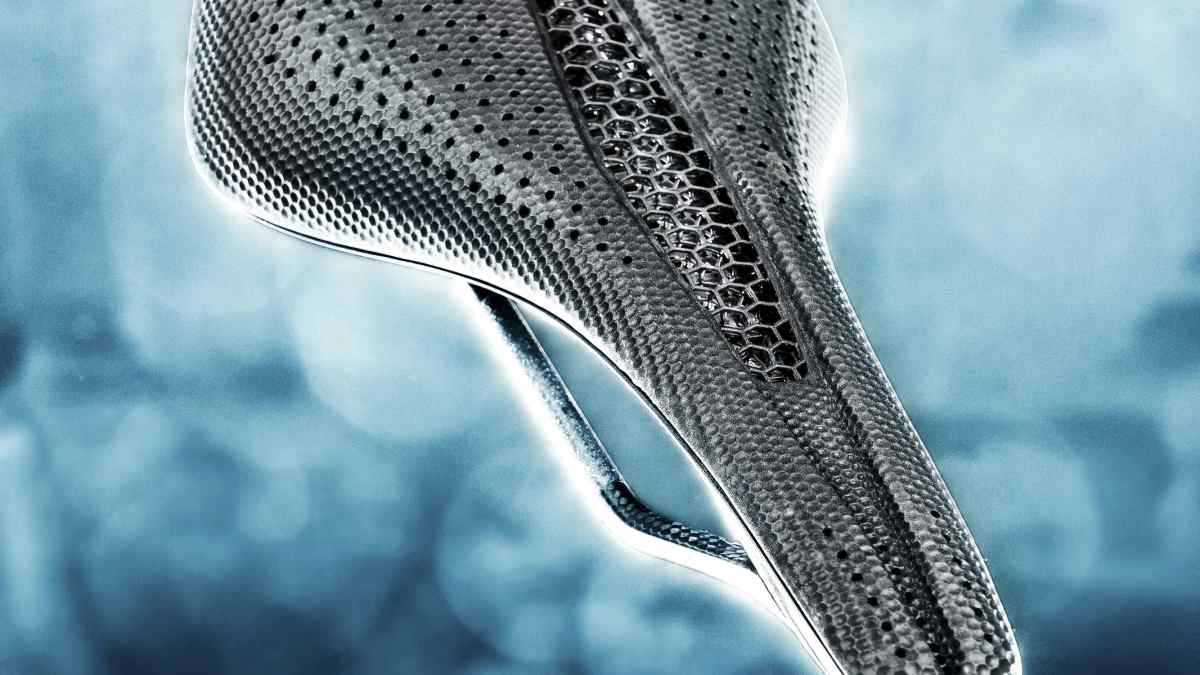
- The sporty solutionThe more stretched out you sit, the thinner and firmer the padding should be. A firm base prevents nerve tracts from being squeezed and ensures that the muscles can work without restriction. Innovative processes such as 3D printing also enable saddles with different firmness zones for maximum comfort and low weight.
Technical details: Rails and material
The seat stays (rails) connect the saddle to the bike.
- MaterialsSteel alloys are robust and inexpensive, carbon rails are stiff and light.
- AssemblyWith carbon stays, it is essential to ensure the correct torque and compatibility with the seat post (often 7x9 mm high-oval shape).
Adjusting the saddle
Most adjustment work on handlebars and road bike saddles can be done by anyone, and the necessary arsenal of tools is manageable. Here is an overview of what you should have at home.
- Tool
- Hexagon socket or Torx spanner, depending on the model. The "Y" tool combines the most commonly used sizes 4, 5 and 6 millimetres and saves time on simple jobs; the tool is also available for Torx screws.
- A maximum torque is specified for most connections, which should not be exceeded. A small torque spanner (up to approx. 10 Nm) should therefore be mandatory.
- Assembly paste (also known as carbon paste) uses small particles to increase the friction between the parts. A must for carbon components, but also helps with aluminium handlebars.
- Grease should be applied to all screw threads; it also protects aluminium seat posts from seizing up in metal frames. Keep away from carbon parts!
- Spirit level as an aid for the position of the road bike saddle and handlebars; a tape measure is also useful for some work.
Torques
- Gear lever 5-6 Nm
- Handlebar clamp 4-6 Nm
- Stem cap 1-2 Nm
- Stem clamp 4-6 Nm
- Seat post 3-5 Nm, varies greatly depending on the clamping principle
- Saddle 5-7 Nm (with two screws)
Everything in order
For supports with two screws, adjust the inclination by tightening the screws differently. Work with low torques and then tighten evenly with the torque spanner. In the case of posts with lateral clamping jaws (picture below), the inner mounts are braced in the post when tightening. The saddle on a road bike should be levelled (check with a spirit level) if the bike is standing on level ground. If the saddle nose presses against the crotch, it can also point slightly downwards.
Ensure suitable clamping
Saddle racks are usually round (diameter 7 mm), carbon racks are often highly oval (7 x 9 mm). Most seat posts that hold the frame from above and below in two channels are suitable for both. However, seat posts that clamp from the side require special mounts for highly oval frames.
Conclusion: measuring instead of guessing
A systematic approach is crucial to finding the optimum saddle width and shape. A professional bike fitting can serve as the final solution, as it not only measures the anatomy, but also analyses the entire pedalling motion and pressure distribution. In the end, the perfect saddle is the result of precise measurement and individual sensation on the road.


Josh Welz
Editor-in-Chief